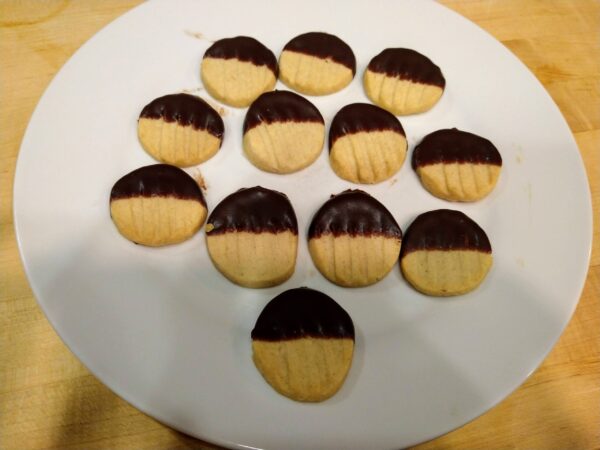
Only two more weeks of catching up to go! Moving on to Episode 9, it’s time for Pâtisserie week. The challenges were: 8 patisserie layered slices (signature), a Sable Breton tart (technical). or a fancy schmancy (not its real name but close enough) entremet dessert (showstopper). By this time it was the week before Thanksgiving and all the kitchen energy was focused on that, but we decided we’d do the slices, at some point over Thanksgiving weekend, since those would be easiest to stash in the freezer for later eating.
I still had half a box of apples sitting on the counter needing to be used up, so after a bit of searching on the internets, I found a recipe for a Apple Caramel Entremet cake that sounded tasty, so decided to give that a try, by assembling it as a the full cake, but then turning it into the 8 required slices.
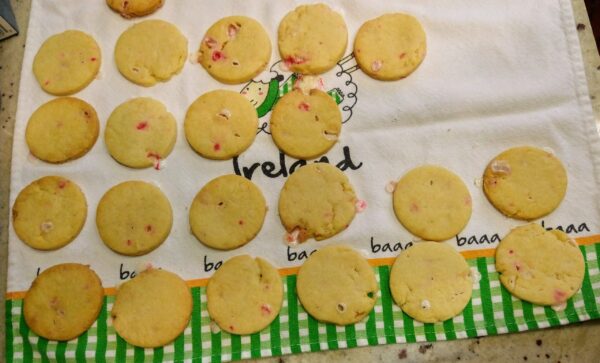
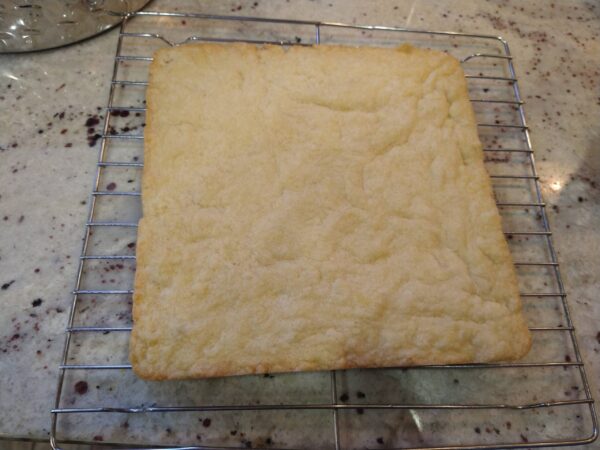
First you make the base, which is a basic sable breton (crumbly sort of shortbread/cake thing)
Next up is the caramel creme layer, which is basically just caramel flavored custard, but with some gelatin added to help it firm up. Here is where I point out that the recipe called for three separate batches of caramel to be made, and I ended up having to make five, because I burned two of them. Oops. That got popped into a plastic wrap lined pan to chill in the freezer until firmed up.
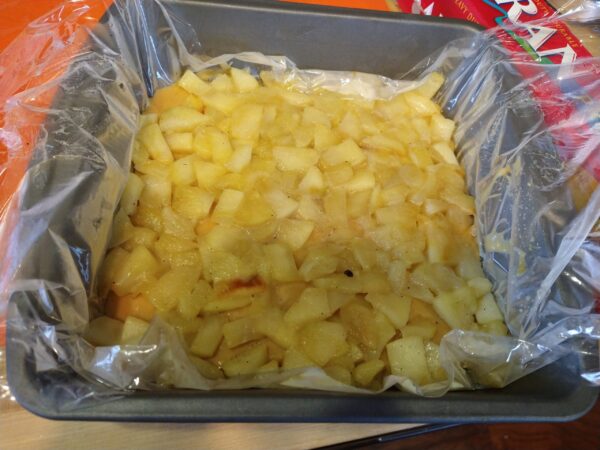
Step three was making the apple compote, which is just basically cooking the apples down in some butter and sugar until they’re the right consistency. Those were set aside to chill, before being pressed in an even layer into the creme caramel.
Step four was the caramel cream (this, by the way, was the second caramel I burned and had to remake). Basically you just make the caramel, add yet more gelatin, set it aside to cool, whip up a bunch of cream, then fold them all together.
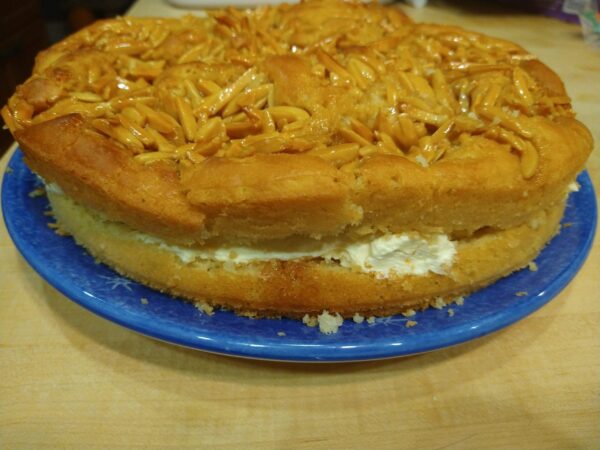
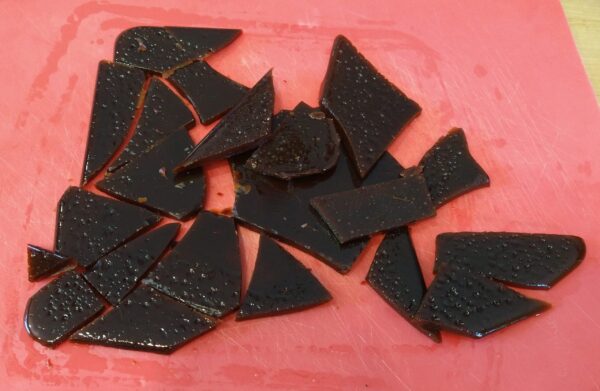
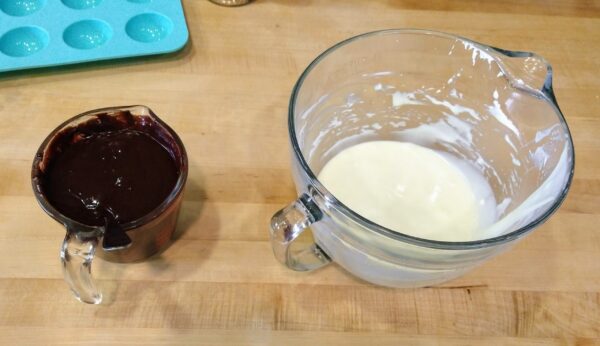
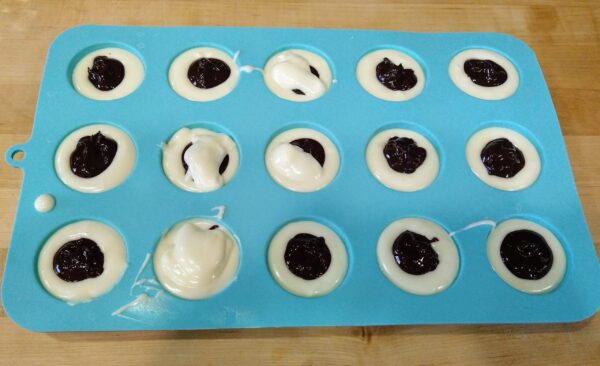
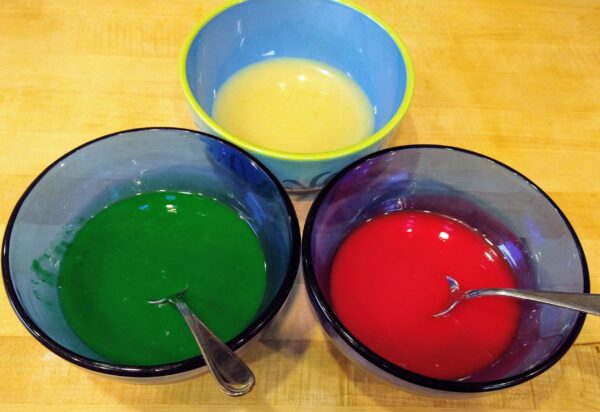
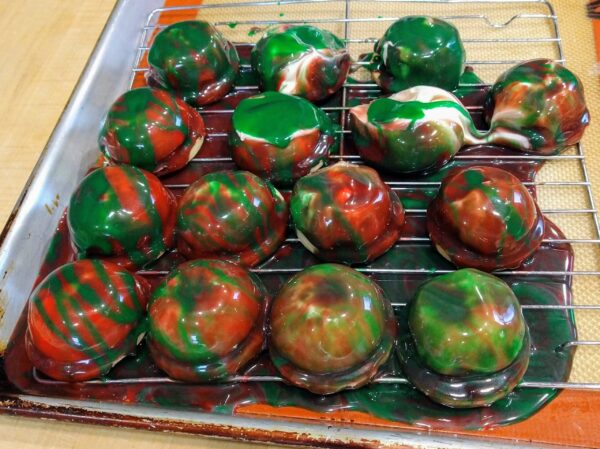
The full cake is assembled by lining a cake tin with plastic wrap, then putting in a layer of the cream, then the custard and apple layer, then more cream, and finally topping it with the sable Breton base. That gets popped back into the freezer to chill for as long as possible while making the caramel mirror glaze, made from yet another batch of caramel, which I did *not*, for a change, burn and have to remake, and yet more gelatin, .
Here’s where I should have either just glazed the whole cake and then cut it later, or else doubled the mirror glaze amount, but I did not do either, so I ended up not having quite enough mirror glaze, which is actually a shame because my glaze turned out shiny and smooth and *perfect*.
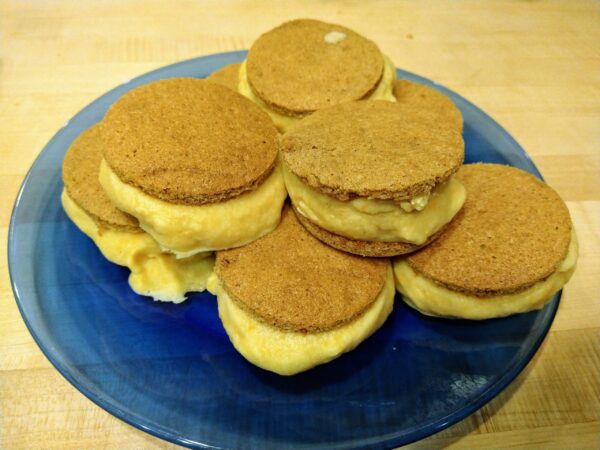
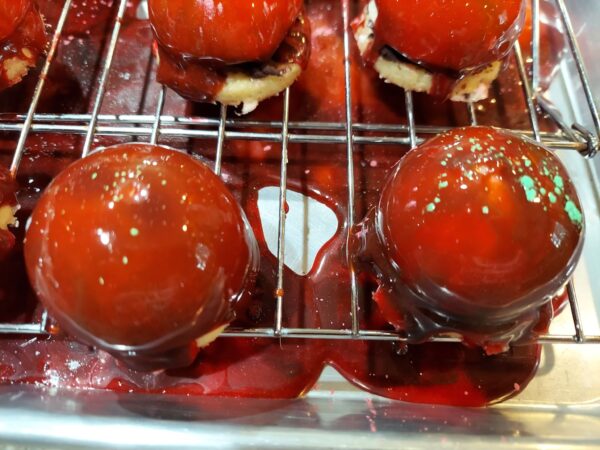
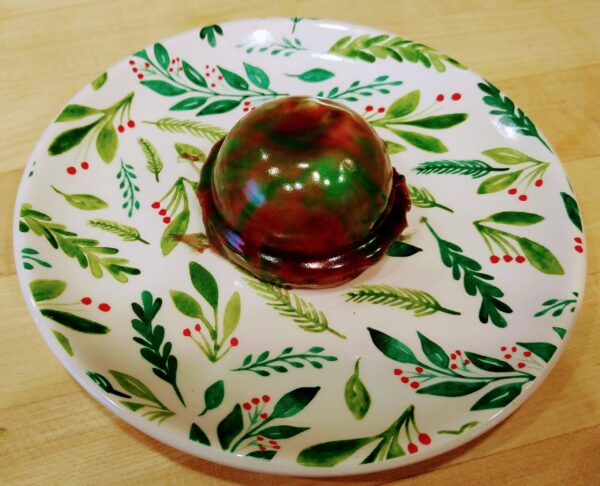
Ah well. I did the best I could with the glaze I had, and ended up with my 8 slices.
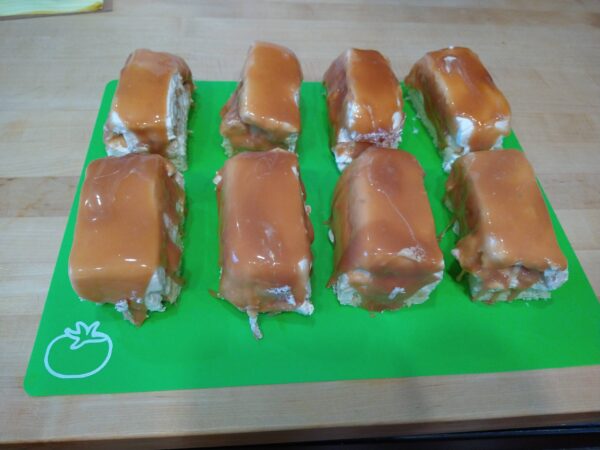
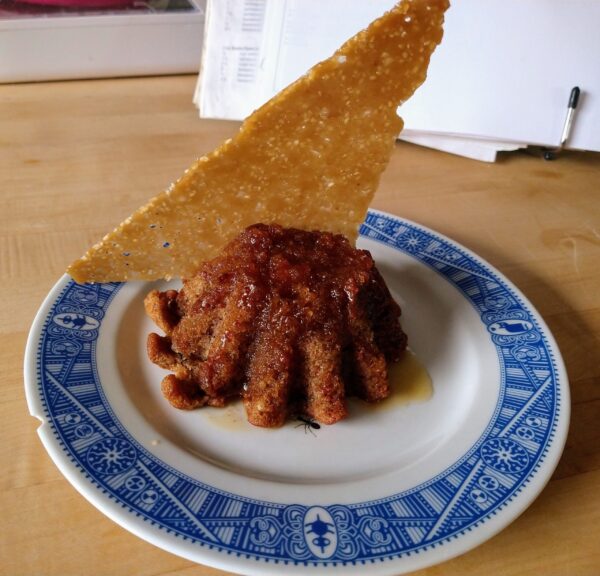
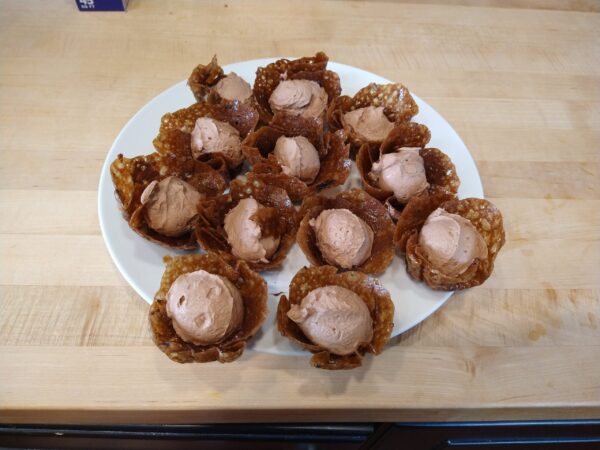
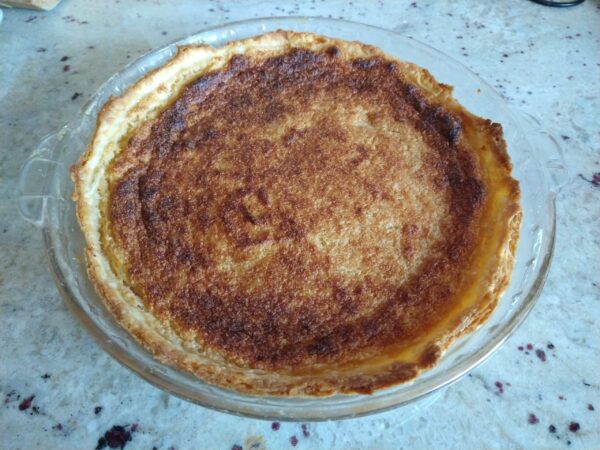
They’re definitely not the prettiest things to look at, plus I also wasn’t really thinking about the fact that an 8×8 pan cut into 8 slices still ends up with 8 ginormous slices. But I got them done, just a couple minutes over the time limit, so yay!
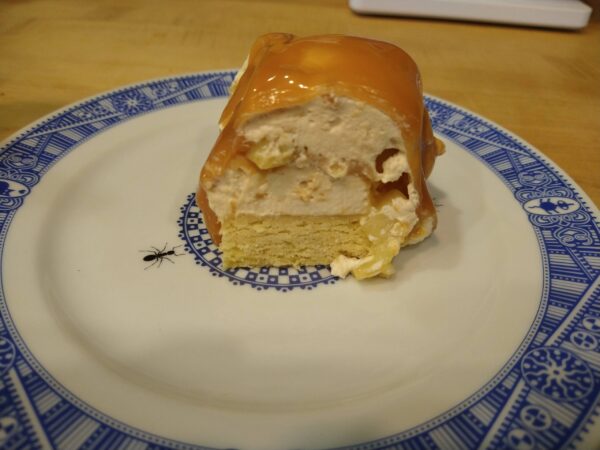
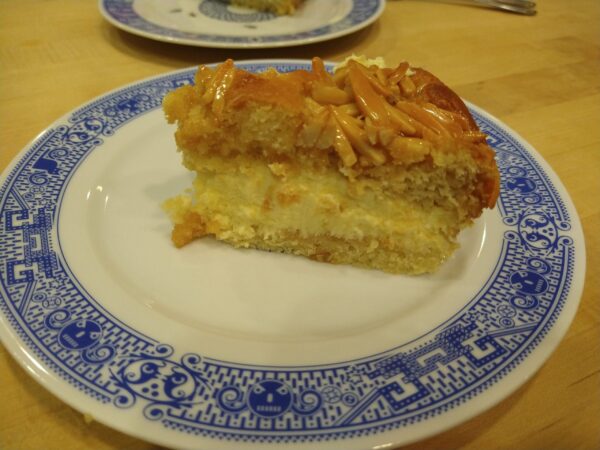
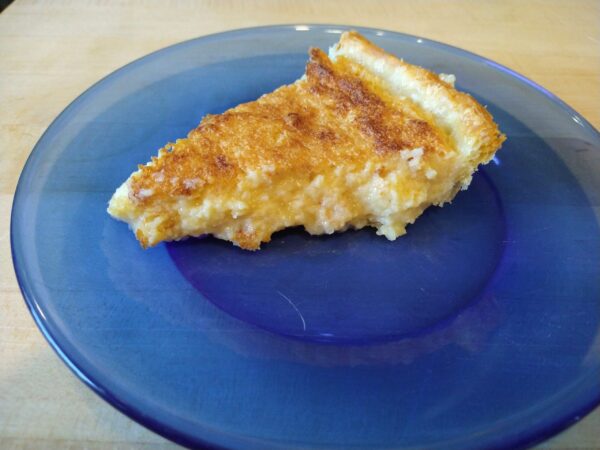
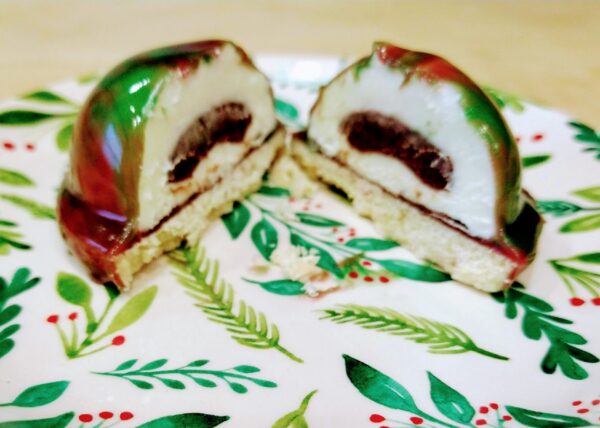
Here’s the inside, so you can see all the layers.
For something with so much caramel involved, it is actually not too sweet. Using the granny smith apples was a wise choice since the cake definitely needs that hit of the tartness to keep it from being all one note. If I ever was to do this again I might try to incorporate a crunch layer – perhaps some nuts or honeycomb or something – to add a little texture, but otherwise, it was super tasty, and fun to make, so I’m calling that a win.
‘Tis the season for Holidailies.