(For those of you who might be new to this site, my younger sister and I both love to bake, and try new things (she’s got actual training in it; I just muddle through as an amateur). However, she lives two states away, so once a month for the past couple years, we’ve gotten together via video chat to do a bake-along. More recently, for this year’s season of Great British Bake Off, we decided to also pick one recipe per week from what the contestants had to make, and give it a try ourselves.)
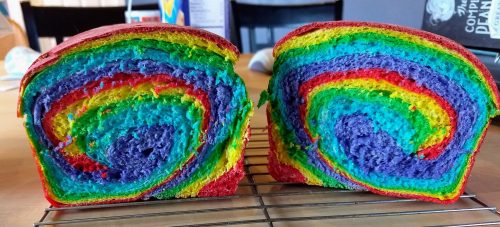
This month, for our Baking Sisters video bake-along, in honor of the recent food-related holiday, my sister and I decided to make Leftover Loaf. Technically, we’re supposed to be doing rainbow-themed things this year, but it’s nearing the end of the year and we’re getting a little tired of rainbow things, so we decided layers was good enough.
If you go online you can find all manner of lovely recipes for a Leftover Loaf, but I will save you the effort. Basically you are assembling a terrine, which is a layered dish packed tightly into a container, chilled, and then sliced and served so that you see all of the lovely layers.
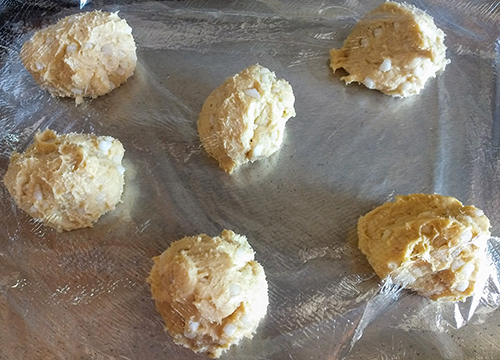
First you pick a thing to use as the liner. My sister used stuffing, but I used mashed potatoes because I wasn’t sure the stuffing would hold. Then you just start adding in layers – I put in turkey, stuffing, and the leftovers of this amazing Roasted Vegetable Crumble that we make every year (minus the crust because it doesn’t really add anything except hassle). Finally I covered it up with the rest of the mashed potatoes, covered it with plastic wrap, and set it in the fridge to chill.
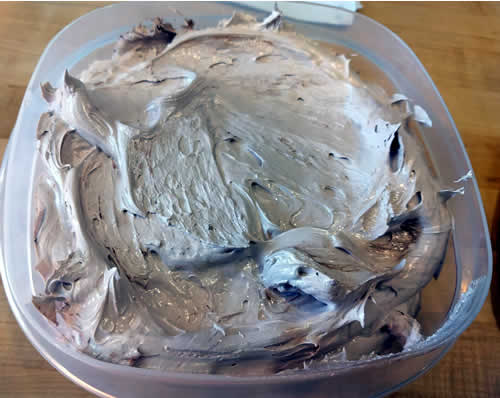
Here is the Leftover Loaf in all its wonderful glory.
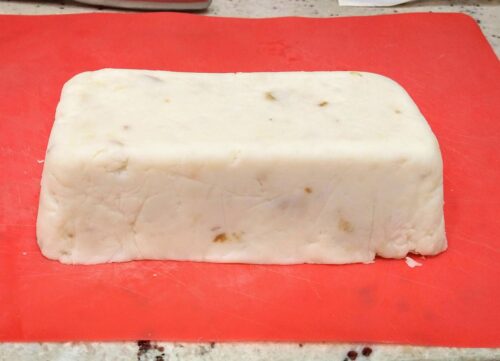
Mmm, doesn’t that look appetizing.
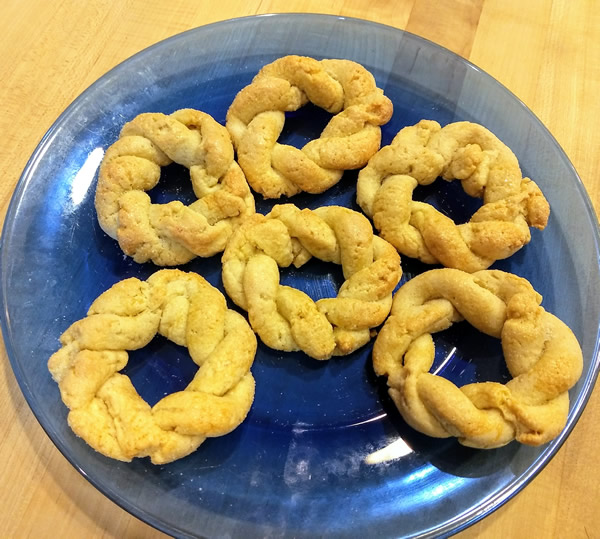
Here’s the view of the layers.
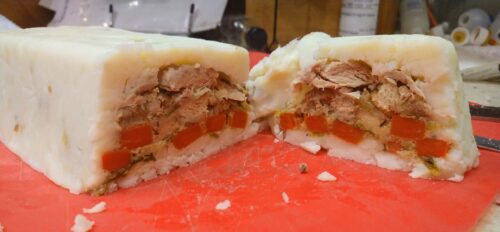
Pretty, yes?
This was actually pretty tasty. Granted, Richard and I are both fine with having our foods mingled (and it helps that all the herbs and spices involved are quite complementary), but as weird experiments go, this one was a success.
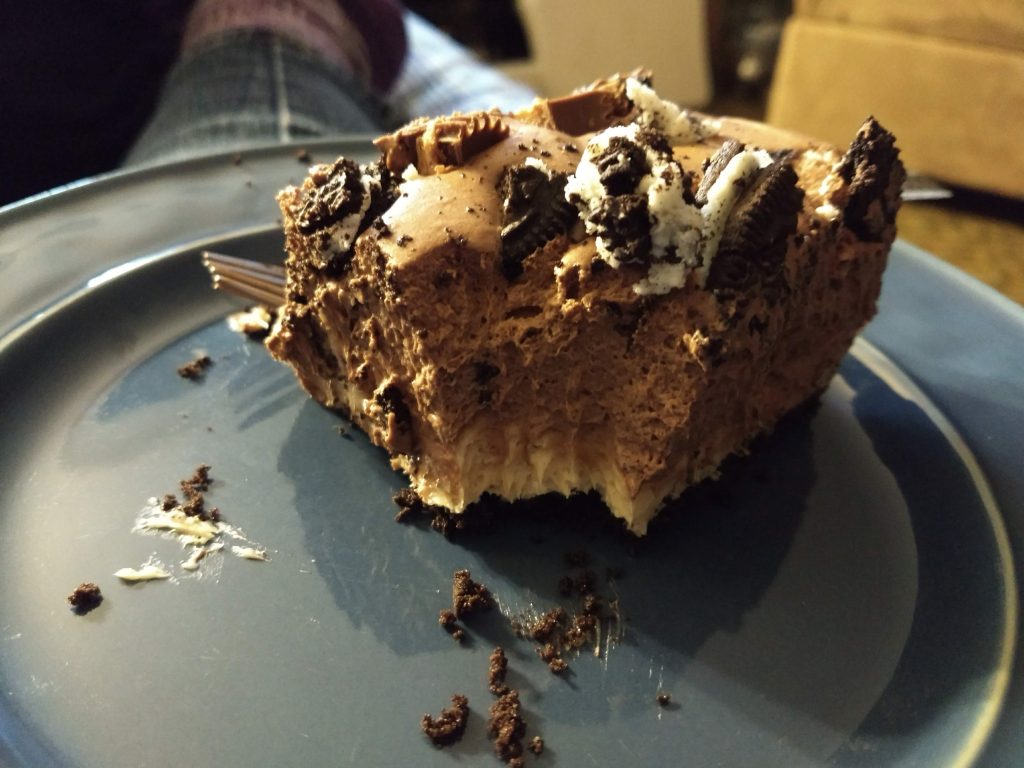
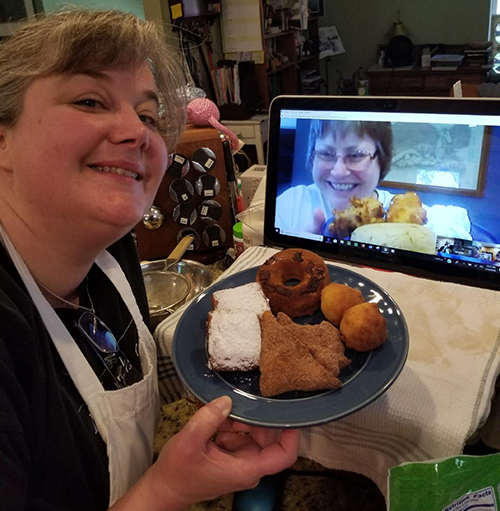
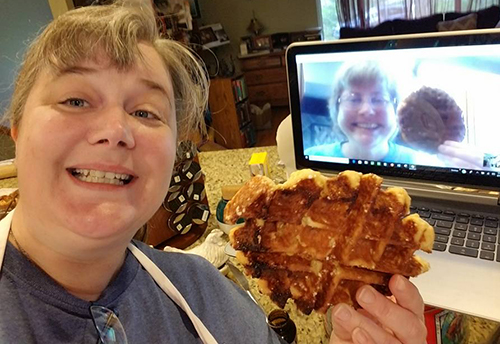
But speaking of layers, we aren’t done yet! Friday night was the finale of the Great British Bake Off (in the US), and my sister and I couldn’t choose between either the Custard Slice or the Walnut Whirls, so we decided to do both – one this week and one the next.
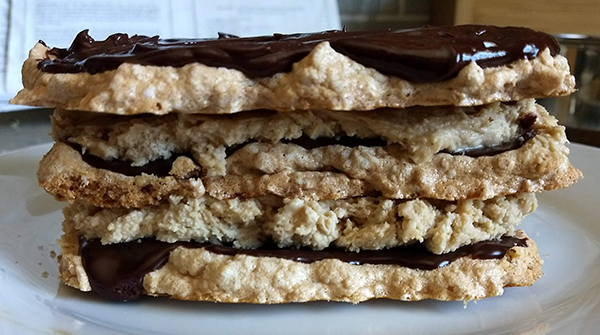
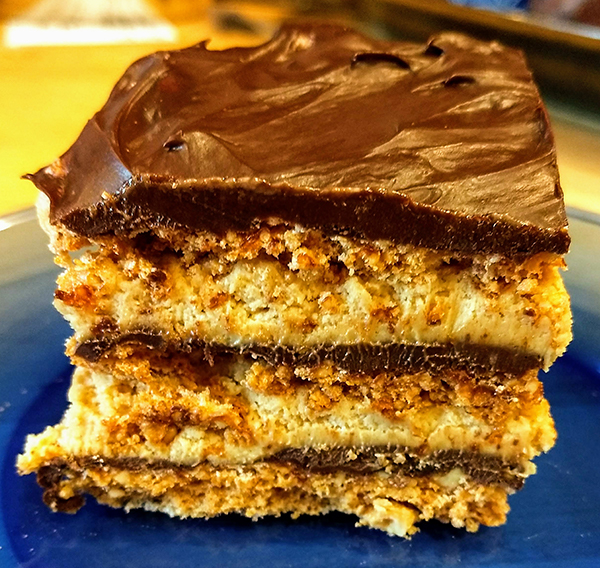
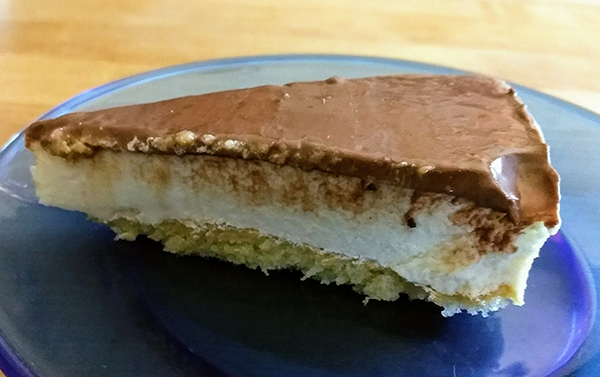
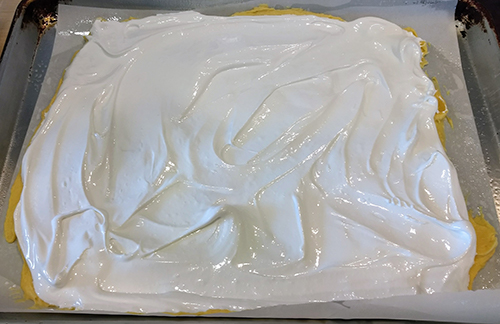
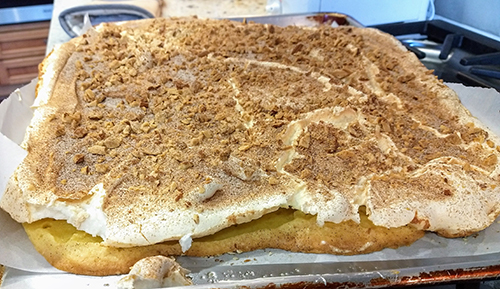
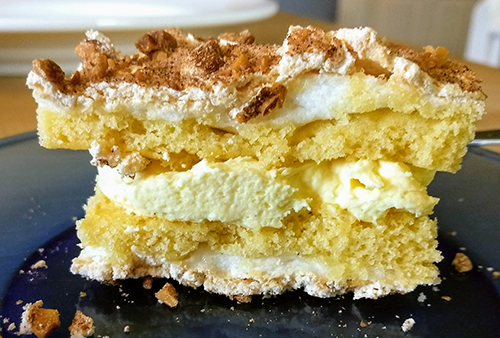
Up first, Custard Slice, which is a layer of thick custard sandwiched between extremely thin slices of puff pastry. It isn’t really a thing here in the US (at least that we’ve seen). The closest might be mille feuille, which is cream and other things between flattened puff pastry, but those tend to be much fussier, whereas I get the sense that Custard Slice is more of a common sort of dessert.
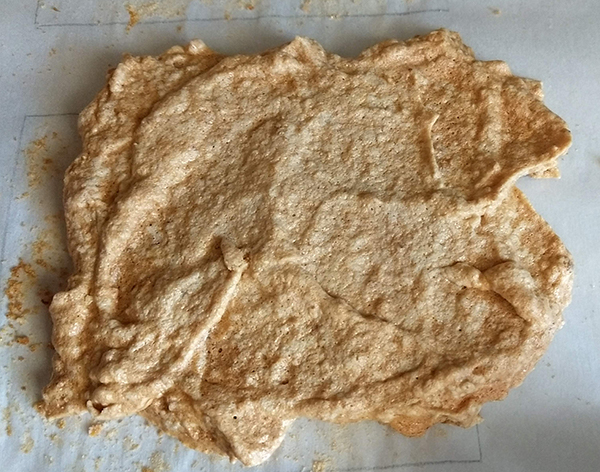
We both decided to make a recipe made by one of the GBBO contestants – Dave’s Caramel Latte Slices – because we thought it looked absolutely amazing. Also we forgot to set timers so we have no idea how long it actually took for us to make, which is good, because my first two puff pastry attempts were epic fail (my homemade one crumbled to bits while rolling and then I tried with some leftover puff pastry in the freezer but that basically burnt up in the oven, and then Richard very nicely went to the store and bought me some more, and that finally did what was expected, phew).
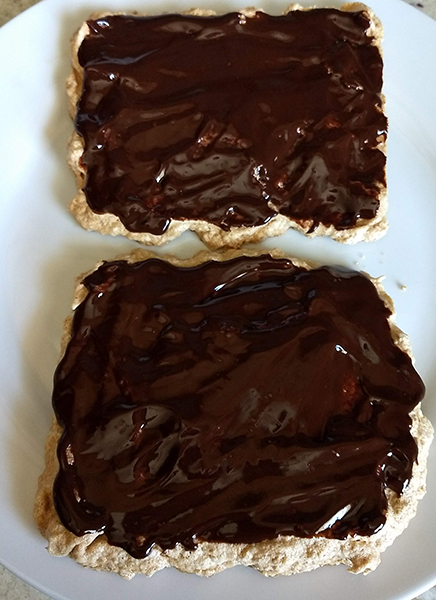
Anyway, you make the pastry (or in my case you send your husband out to the store for the pastry, oops), and then you make the custard, which gets a little gelatin added to make sure it sets up firm. Both of us topped our Custard Slices with a little leftover caramel instead of what the recipe called for because when one has caramel in the fridge, one should use it at all moments possible.
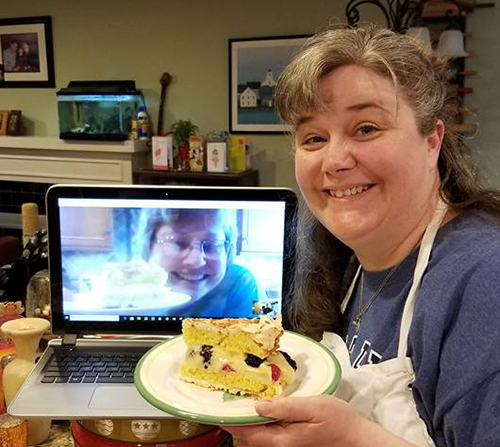
So after a yummy dinner of Leftover Loaf, dessert was this delightful Caramel Latte custard slice.
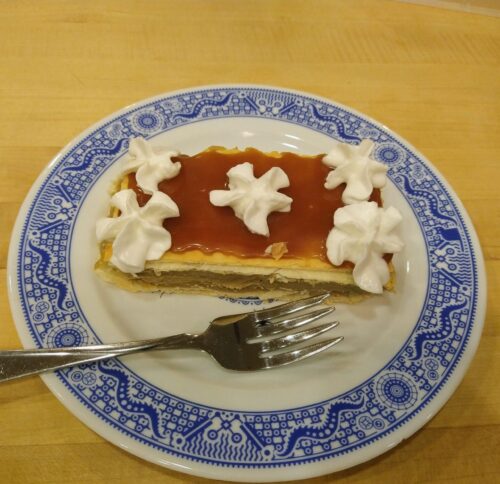
Verdict – even more delicious than it looked on the show. The coffee flavor comes through nicely, the custard was delightfully rich and creamy, and the salted caramel added just the right amount of contrast to the sweet. I would happily make this again (and store bought puff pastry worked *just* fine!).
‘Tis the season for Holidailies.